How to test API?
API, Application Programming Interface is used for interacting the components in a software. A website uses different API's for communicating the software components. As user, we can see only the interfaces and not the working of API's behind those interfaces. This article focus on how we can ensure the API we implement works or not. Websites provide different extensions for testing API.
Here I am discussing on how to test API using Advanced Rest Client, an Add-on provided by the browser Google Chrome. All you have to do is install the add-on and fill the parameters and get response.
Steps to install
- Go to chrome://extensions/
- Enable the extension 'Advanced REST client'
Let us take the example of Login page. Here we need to pass values for following fields:
- Request url - The address to which the request should be sent.
- Method - Defines the request methods say get, post etc
- Request Parameters - List of variable parameters / datas
- Response Parameters - Expected response/messages
On loading the application (as shown in the image below.) you can see fields for entering request URL, Method and request parameters. Here select the Method as Post. API, Application Programming Interface is used for interacting the components in a software. A website uses different API's for communicating the software components. As user, we can see only the interfaces and not the working of API's behind those interfaces. This article focus on how we can ensure the API we implement works or not. Websites provide different extensions for testing API.
Here I am discussing on how to test API using Advanced Rest Client, an Add-on provided by the browser Google Chrome. All you have to do is install the add-on and fill the parameters and get response.
Steps to install
- Go to chrome://extensions/
- Enable the extension 'Advanced REST client'
Let us take the example of Login page. Here we need to pass values for following fields:
- Request url - The address to which the request should be sent.
- Method - Defines the request methods say get, post etc
- Request Parameters - List of variable parameters / datas
- Response Parameters - Expected response/messages
On loading the application (as shown in the image below.) you can see fields for entering request URL, Method and request parameters.
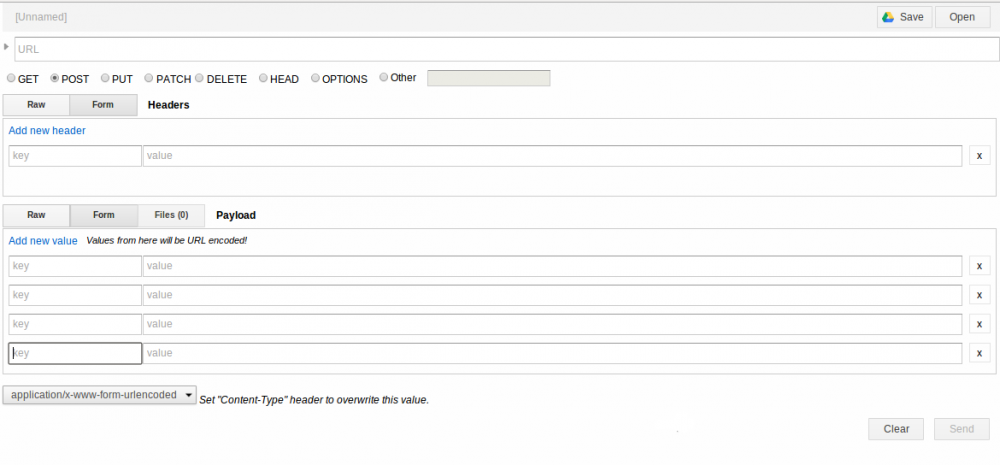
Here select the Method as Post. So our input will be as follows:
- Request url - Give the URL
- Method - Post
- Request Parameters - useridentifier- Email or username
password - password
For the above request parameters, the response parameters would be as follows:
- Response Parameters - On Success - status will be TRUE and uid will contain user id
- uname will contain user name
- umail will contain user mail
- access_token = The access token that would be used to identify this particular user
- message - will contain message
Here you can test the feature by executing all positive and negative cases and check whether the result (Response Parameters) are correct or not. Enjoy testing:)
So our input will be as follows
- Request url - Give the URL
- Method - Post
- Request Parameters - useridentifier- Email or username
password - password
For the above request parameters, the response parameters would be as follows:
- Response Parameters - On Success - status will be TRUE and uid will contain user id
- uname will contain user name
- umail will contain user mail
- access_token = The access token that would be used to identify this particular user
- message - will contain message
Here you can test the feature by executing all positive and negative cases and check whether the result (Response Parameters) are correct or not. Enjoy testing:)